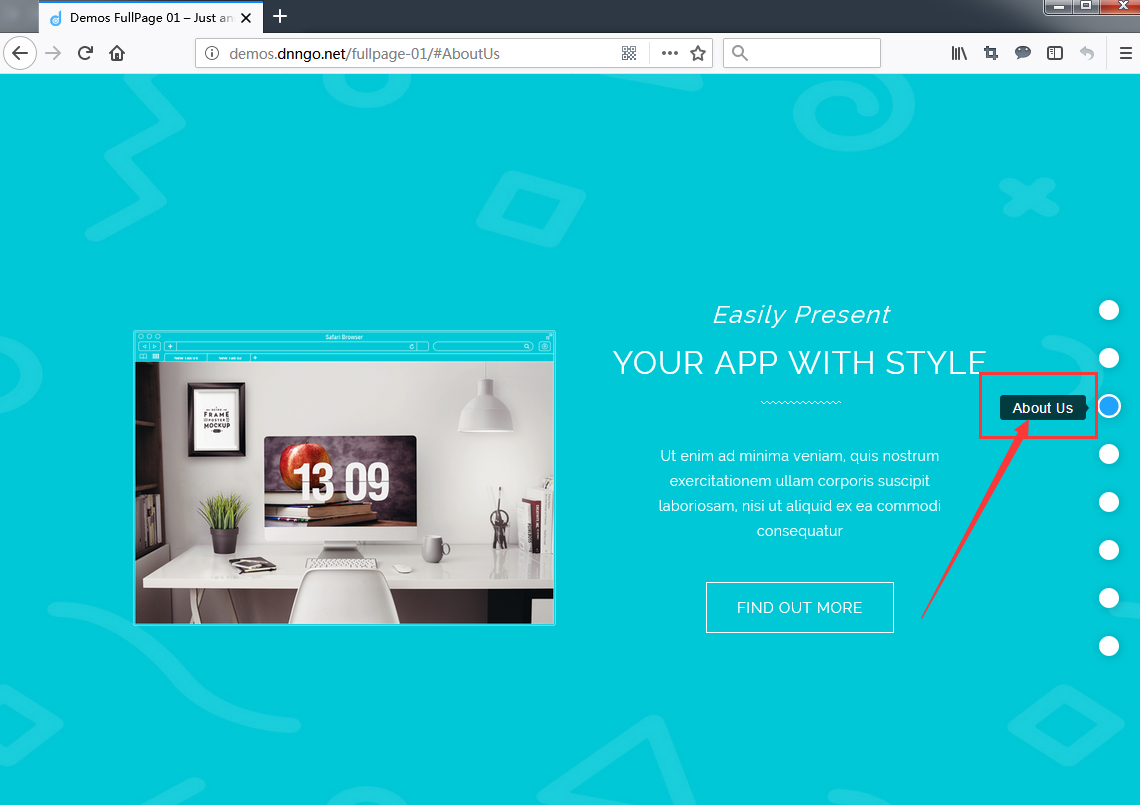
Please check our Full Page demo from here: http://demos.dnngo.net/fullpage-01
How to set full page
You can have your full page with following steps:
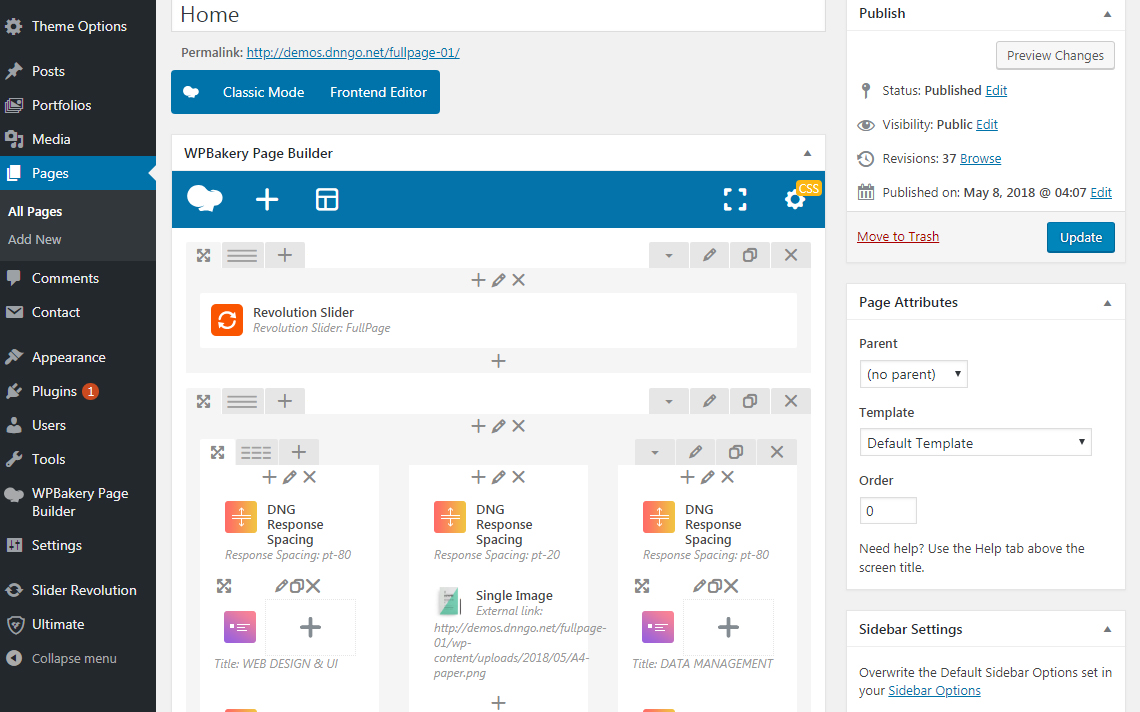
Step 01. Go to page edit interface.
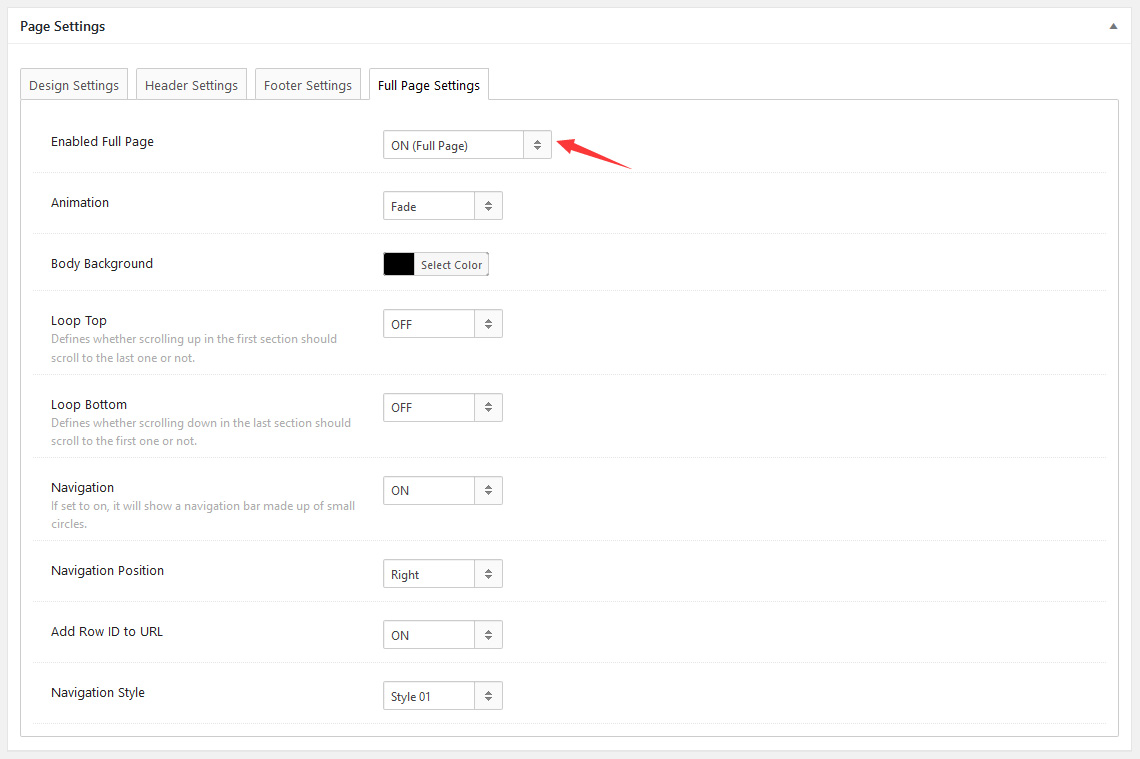
Step 02. Scroll to the bottom of page, enable the Enable Full Page setting in Page Settings > Full Page Settings.
Step 03. After enabling the Enable Full Page setting, the 1st level row of WPBakery Page Builder will be displayed as a full screen page.
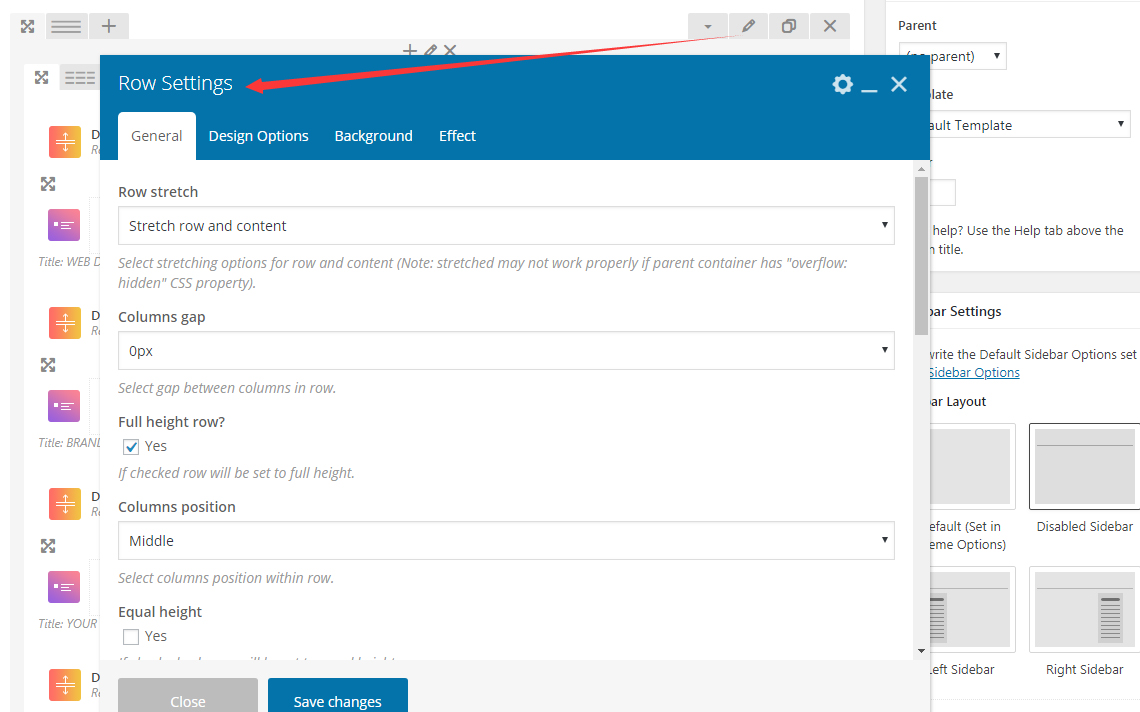
Step 04. Go to the Row Settings of 1st level row.
Step 05. Enter Row ID and Row Name, of course they can be left as blank.
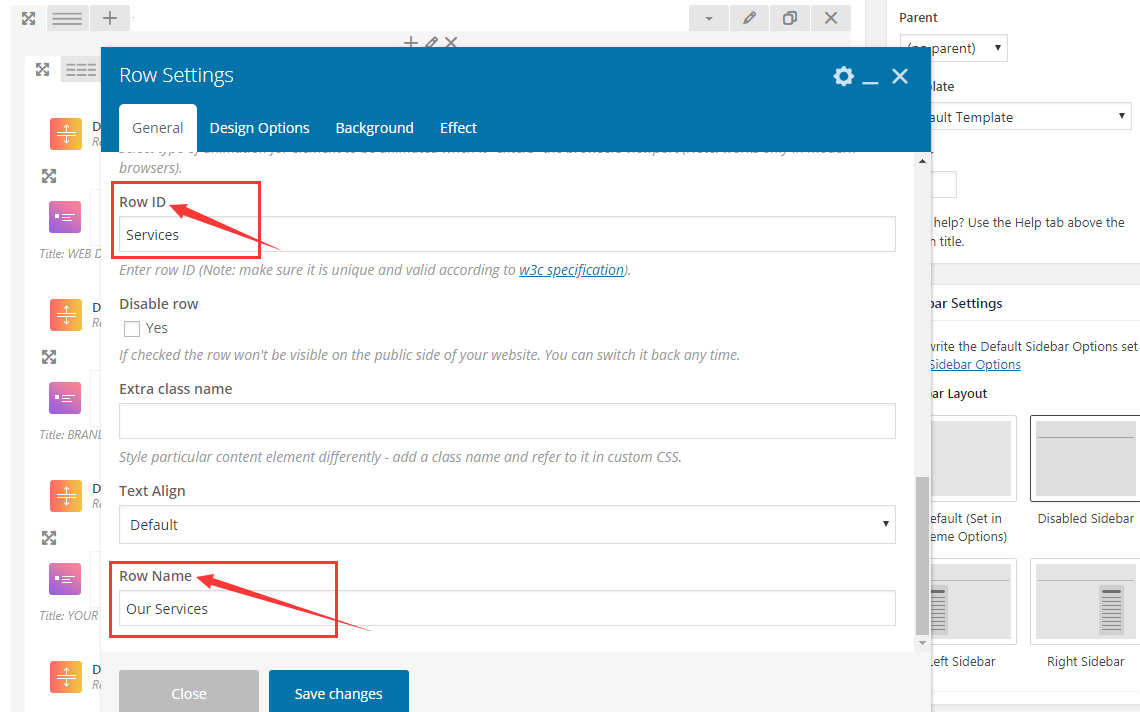
Row ID: No space is allowed, and it is case sensitive, also it can be different from the name of Row Name. If it is entered, then it will display in page URL. For example: http://demos.dnngo.net/fullpage-01/#Services.

Row Name: It can be different from the name of Row ID, space is allowed, and it is case sensitive too. If it is entered, then it will display in the prompt box on the right side navigation of the page.
Full Page Settings
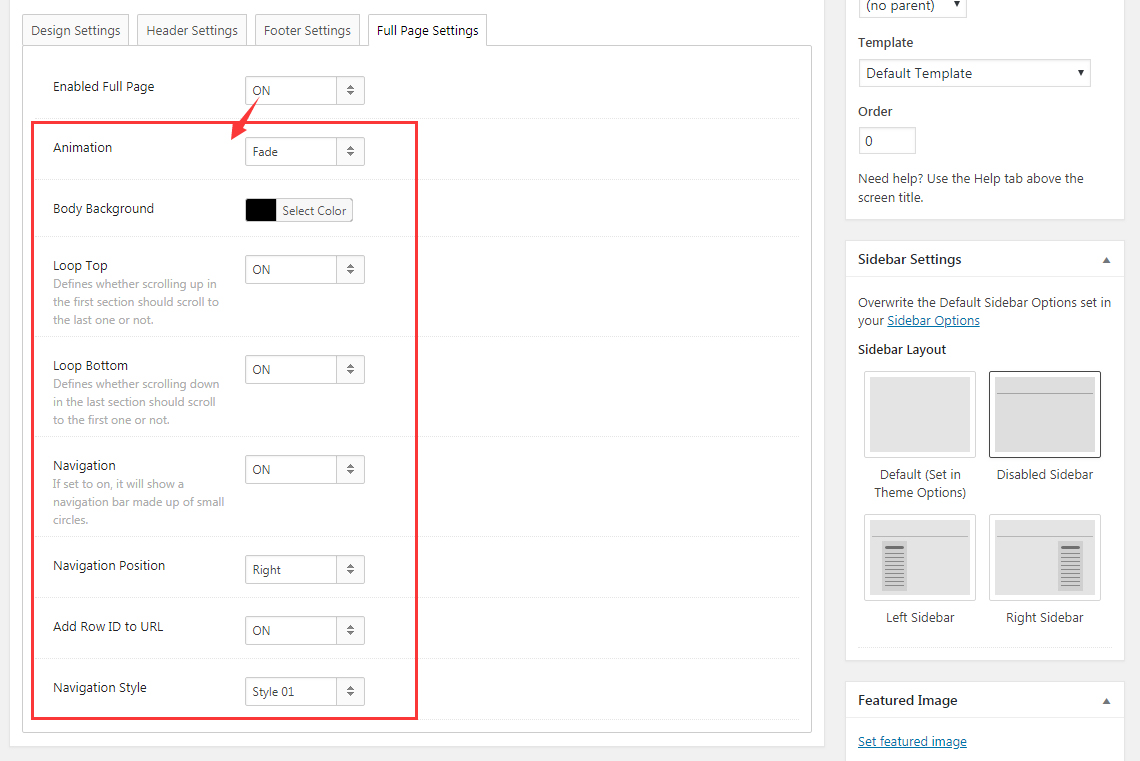
Animation: Set the displayed animation effect when the content of each screen is switched.
Body Background: Set the background color of animation when content is switched.
Loop Top: Define whether to scroll to the last section when scroll up the first section.
Loop Bottom: Define whether to scroll to the first section when scroll down the last section.
Navigation: Set whether to display the left or right navigation bar.
Navigation Position: Set the display position of navigation bar, on the left of screen or on the right of screen.
Add Row ID to URL: Set whether to add the entered Row ID to URL.
Navigation Style: Set the style of navigation dot, and currently there are 3 styles available.
Please note:
1. Full Page should use the Disabled Sidebar structure, please set it in Sidebar Layout.
2. After enabling Full Page feature, the 1st level row of WPBakery Page Builder will be displayed as a full screen page. So you have to put all the content of one screen to one row.